As any parent knows, infant care comes with a myriad of tasks that ensure the wellbeing of your little one, paramount among these is the nurturing act of feeding. The bottle warmer—a godsend for many—keeps your baby’s milk at the just-right temperature, ensuring nutrients are preserved and your baby is happy. But this handy device also requires regular maintenance. Over time, bottle warmers can become a breeding ground for bacteria and mineral buildup, especially if you have hard water. Keeping this equipment clean is not just a matter of efficiency; it’s a crucial step in safeguarding your infant’s health. Proper cleaning prevents the growth of potentially harmful germs and extends the lifespan of the warmer itself, making it a vital aspect of its operation.
Having established the significance of a hygienically maintained bottle warmer, the burgeoning question is how does one clean it effectively? New and seasoned parents alike may find themselves floundering in the specifics. Fret not, for the forthcoming section is set to demystify the process. It will take you through a step-by-step guide, providing key takeaways such as the essential cleaning supplies, the recommended frequency for cleaning and the best practices to ensure that your bottle warmer is sanitized without causing damage to its components. With these handy tips and tricks, you’ll be prepared to create a safe feeding experience for your infant, keeping nutrition optimal and worries at bay.
Key Takeaways
1. Regular cleaning is crucial for maintaining a hygienic bottle warmer, as milk residue and water buildup can lead to the growth of bacteria and mold. It’s recommended to clean the bottle warmer after each use to prevent these issues.
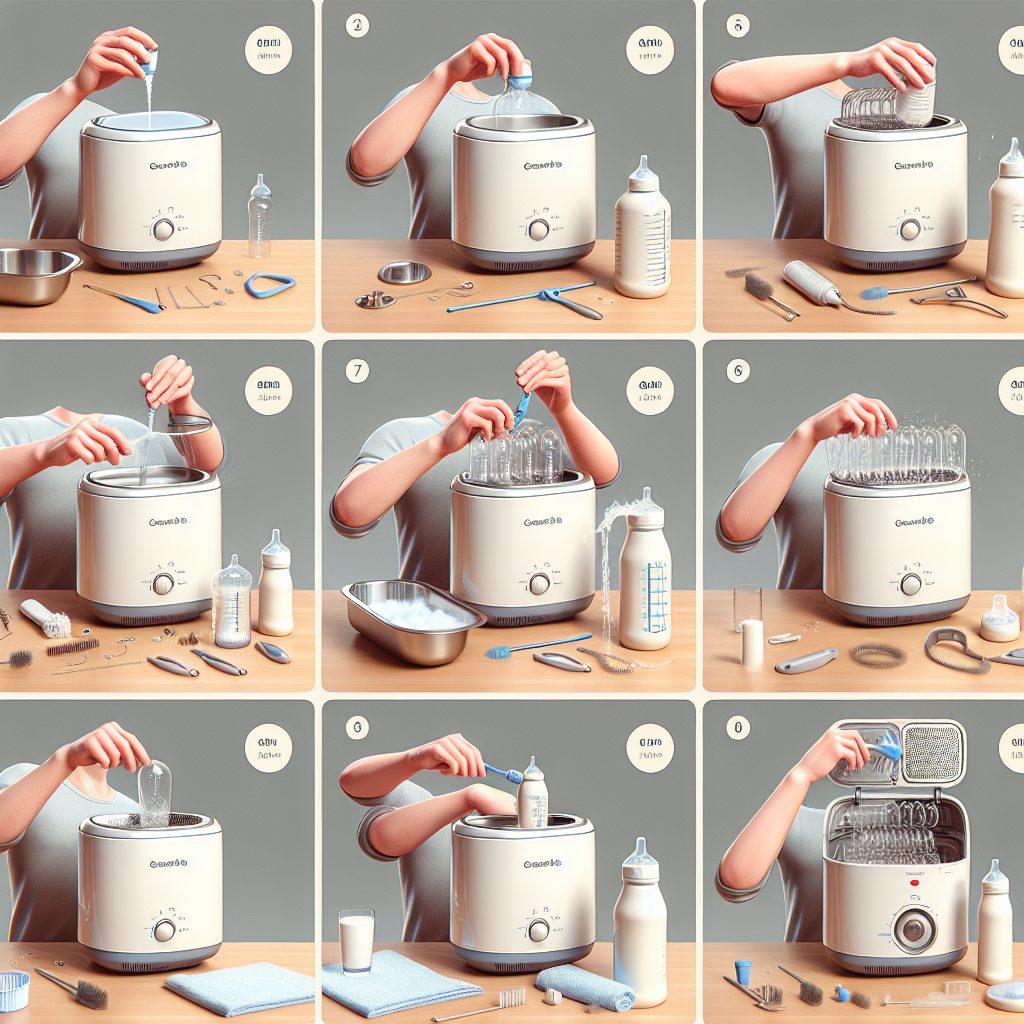
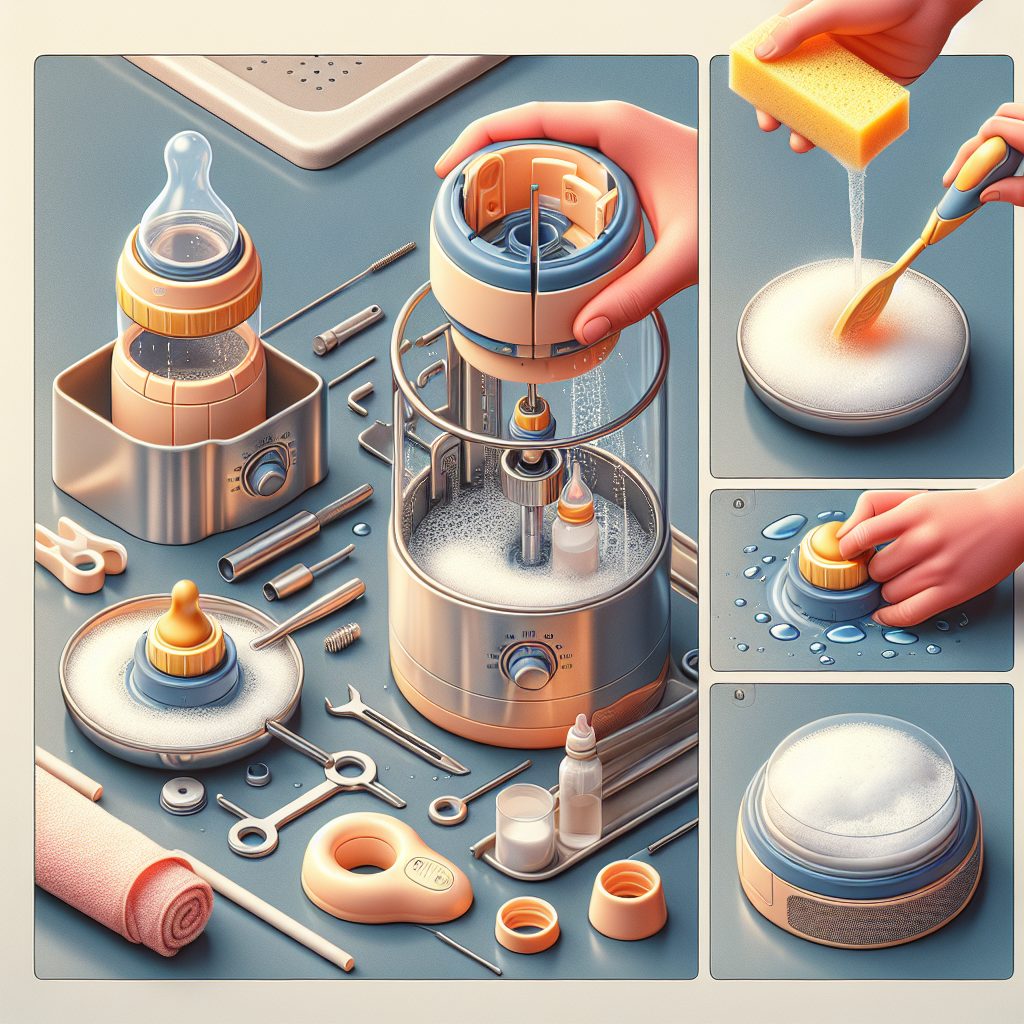
2. To thoroughly clean a bottle warmer, first, unplug it and disassemble any removable parts. Use a mild dish soap and warm water to cleanse these components, then rinse them thoroughly to ensure no soap residue remains which could contaminate the baby’s feeding equipment.
3. For descaling the bottle warmer, which should be done at least once a month due to mineral deposits from water, use a mixture of white vinegar and water. Let this solution sit in the warmer for several minutes before rinsing. Some manufacturers specify their own descaling solutions, so it’s important to follow the product’s instructions.
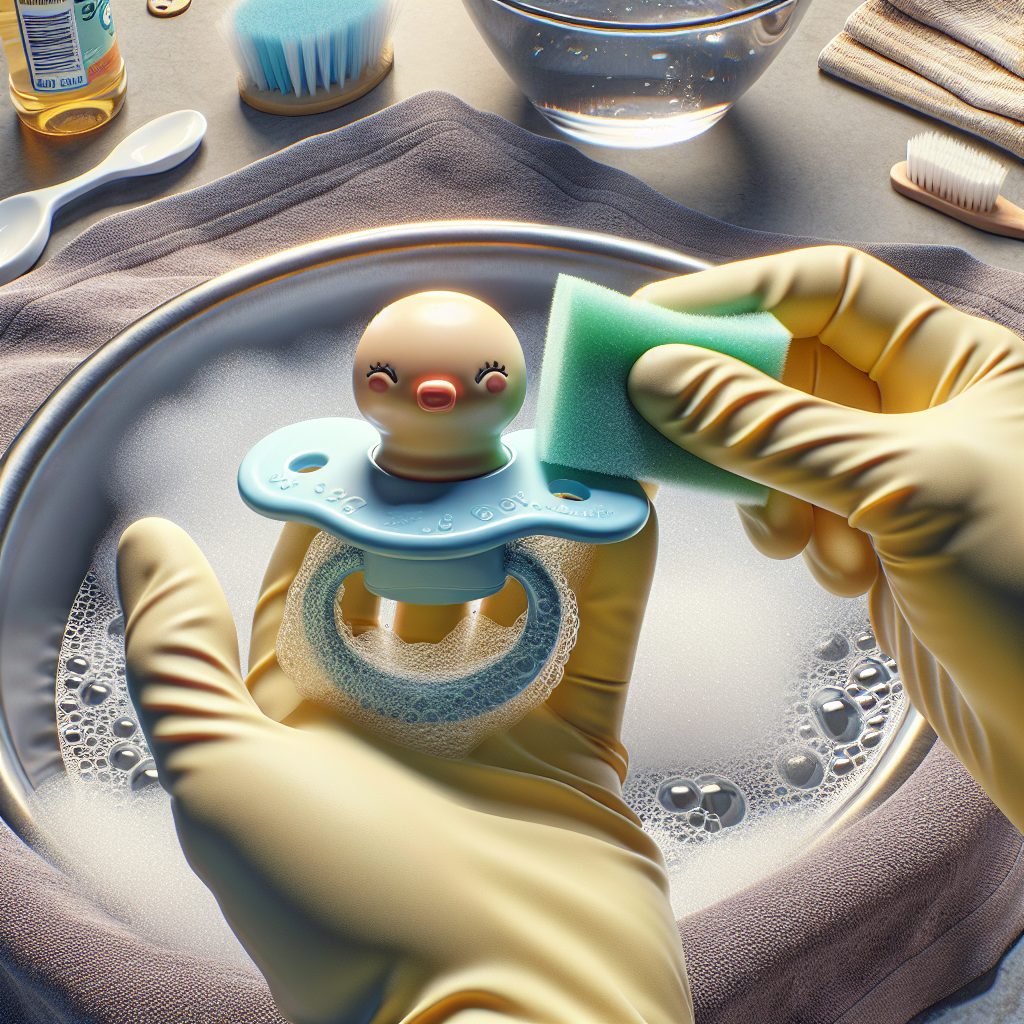
4. Use a damp cloth or sponge to wipe down the exterior of the bottle warmer and tackle any spills or dirt. For cleaning tight spots or small crevices, a cotton swab or a small brush like a toothbrush can be effective in removing gunk and ensuring all areas are reached.
5. Air-dry all components of the bottle warmer thoroughly before reassembling and using it again. Never reassemble and use the bottle warmer while parts are still wet as this could lead to electric shock or damage to the device. Proper drying also prevents mold and mildew growth.
What Is the Best Way to Clean an Infant’s Bottle Warmer?
Understanding the Importance of Regular Cleaning
Cleaning your infant’s bottle warmer is crucial for maintaining a hygienic feeding environment. Milk residue and water minerals can build up inside the warmer, potentially leading to bacterial growth. Regular cleaning not only ensures the health and safety of your baby but also extends the life of the bottle warmer.
Gathering Necessary Cleaning Supplies
Before you begin, it is important to have the right cleaning supplies on hand. You will need a clean sponge or cloth, a small cleaning brush, white vinegar or a safe, baby-friendly cleaning solution, a sterile cloth for drying, and fresh water. Some bottle warmer models may also require a descaling agent if there is significant mineral buildup.
Daily Cleaning Routine
After each use, unplug the warmer and let it cool down. Wipe the exterior with a damp cloth. Rinse the interior compartment with water, making sure any milk residue is removed. Use the cleaning brush to scrub inaccessible corners. Dry all components thoroughly with a clean, dry cloth.
Weekly Deep Cleaning Process
Once a week, conduct a more thorough cleaning. Prepare a cleaning solution of equal parts water and white vinegar. Fill the bottle warmer with this mixture and run a normal warming cycle. This helps to remove any lingering odors and mineral deposits. After the cycle is complete, empty the warmer and rinse it well with water. Again, dry thoroughly before using.
Descaling the Bottle Warmer
If your water is hard, the warmer may need regular descaling to remove mineral buildup. Consult your bottle warmer’s instruction manual for the recommended descaling product or process. Often, a vinegar solution followed by a thorough rinse is effective. Remember to descale your bottle warmer every few weeks to keep it functioning properly.
Reassembling the Bottle Warmer
After cleaning and allowing all components to air dry, reassemble the bottle warmer. Ensure that all parts are correctly fitted and secure. This helps prevent any malfunction due to improper assembly which could potentially compromise the warmer’s hygiene or functionality.
Tips for Preventing Mould and Bacteria Growth
To avoid mould and bacteria growth, always ensure the warmer is completely dry before storing it. If you won’t be using the warmer for an extended period, store it in a dry, well-ventilated space to prevent any dampness. Additionally, avoid using abrasive cleaners or materials that could scratch the warmer’s surface, creating spaces for bacteria to accumulate.
What Are the Key Steps in Effectively Cleaning Your Bottle Warmer?
- Unplug and let the warmer cool down before cleaning.
- Daily, wipe down the exterior with a damp cloth and rinse the interior after every use.
- Once a week, fill the bottle warmer with a white vinegar and water solution and run a normal cycle for deep cleaning.
- Descaling is necessary; do it every few weeks, especially if using hard water.
- Reassemble the bottle warmer correctly after ensuring all parts are dry.
- Keep the warmer in a dry location to prevent mould and bacterial growth when not in use.
- Follow the manufacturer’s instructions for cleaning and maintenance specific to your model.
What is the best way to disinfect a bottle warmer?
For effective disinfection, it’s recommended to use a mixture of water and either a baby-safe disinfectant or white vinegar. Fill the bottle warmer with the solution, run a heating cycle, then rinse thoroughly with clean water to ensure no cleaning residue remains.
How often should I clean my bottle warmer?
It’s ideal to clean the bottle warmer at least once a week to prevent any buildup of milk residue or mineral deposits from water. However, if you use it multiple times a day, consider cleaning it more frequently, possibly after every use.
Can I use regular tap water to clean my bottle warmer?
Yes, regular tap water can be used for general cleaning, but to remove mineral deposits or scale, distilled or descaling solutions might be necessary. Always check the manufacturer’s instructions regarding the use of specific cleaning agents.
Is it safe to use vinegar to clean a bottle warmer?
Vinegar is a safe and natural cleaning solution for bottle warmers. It’s particularly effective at breaking down milk residue and descaling. After cleaning with vinegar, ensure to rinse the bottle warmer thoroughly with water to remove the vinegar smell and taste.
What should I avoid when cleaning my bottle warmer?
Avoid using abrasive cleaners or tools that can scratch the surface of the bottle warmer. Also, do not immerse the entire unit in water, especially if it contains electrical components. Stick to the manufacturer’s recommendations for cleaning to prevent damage.
Can bacterial growth occur in a bottle warmer?
Yes, if a bottle warmer is not cleaned regularly, it can become a breeding ground for bacteria due to the warm, moist environment. Regular cleaning and drying are essential to prevent bacterial growth.
How can I remove a burnt milk smell from my bottle warmer?
To remove a burnt milk smell, use a mixture of baking soda and water to create a paste, apply it to the affected areas, and then rinse after a few minutes. Alternatively, cleaning with white vinegar followed by a thorough rinse can also help neutralize odors.
Do I need to disassemble the bottle warmer for cleaning?
Depending on the design of your bottle warmer, disassembling might be necessary to reach all areas. Consult the instruction manual to understand how to properly disassemble and clean each part.
What kind of brush should I use to clean my warmer?
Use a soft-bristled brush or a sponge to clean your bottle warmer. It is gentle enough to prevent scratches but effective at removing residue. For narrow areas, a small nipple brush can be useful.
How do I know if my bottle warmer is clean?
Your bottle warmer should not have any milk residue or mineral scale visible, and it should smell clean, without any sour milk odor. If you see or smell anything suspect, run through the cleaning process again.
Final Thoughts
Cleaning your infant’s bottle warmer is not just a matter of hygiene; it’s a crucial step in your child’s health and safety. Regular maintenance ensures that the bottle warmer remains a safe and sterile environment for your infant’s nutrition. Embracing these best practices for cleaning your bottle warmer effectively can prevent the spread of bacteria, safeguarding your baby against potential illnesses. Remember, the extra effort you put into keeping the bottle warmer clean is a direct investment in your child’s well-being.
Maintaining the cleanliness of your bottle warmer also prolongs the life of the device, ensuring it operates at peak efficiency and saving you from unnecessary replacements or repairs. Always follow the manufacturer’s guidelines and use the recommended products to avoid damaging the warmer. With the right care, your bottle warmer will continue to be a reliable tool in your daily infant care routine.